


Zephyr's Market
Starlink Mini Suction Cup Mount For Car Sunroof Window Glass Low Profile 1.7in
Starlink Mini Suction Cup Mount For Car Sunroof Window Glass Low Profile 1.7in
Couldn't load pickup availability
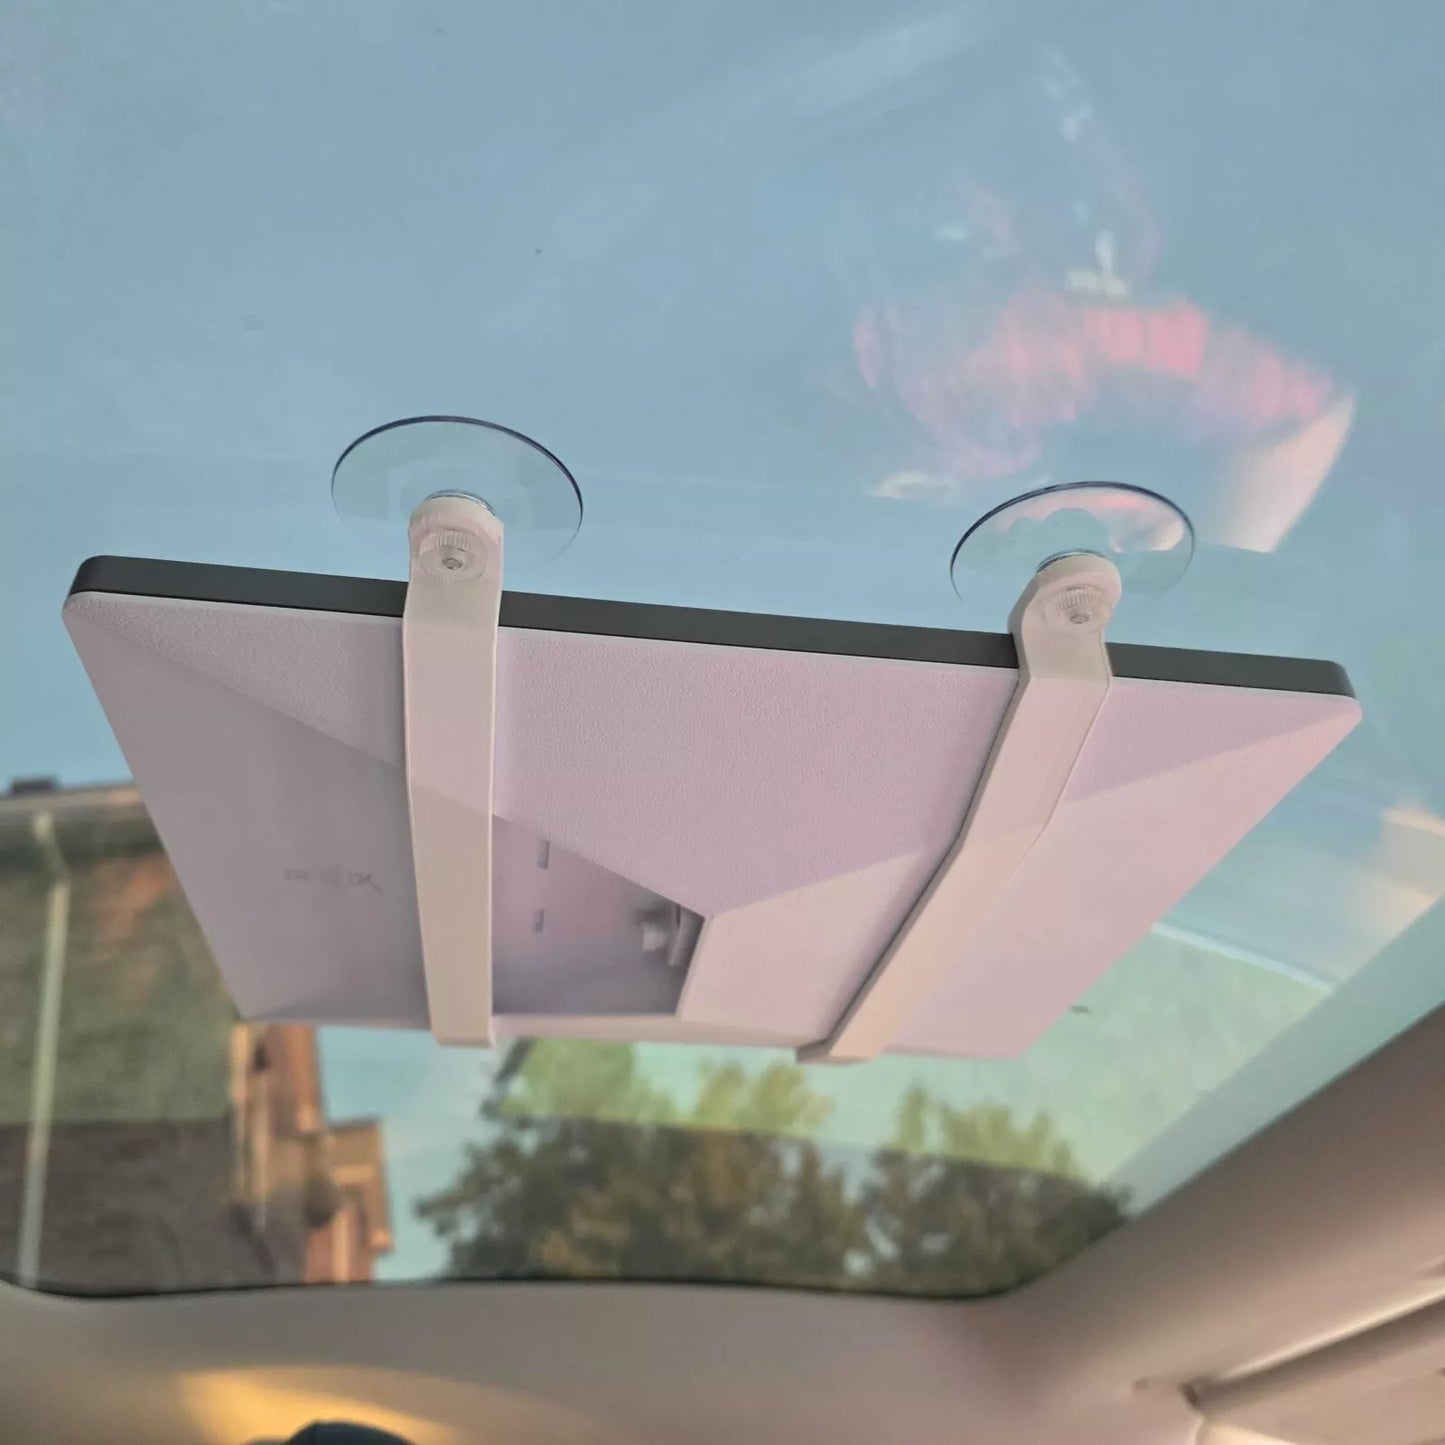
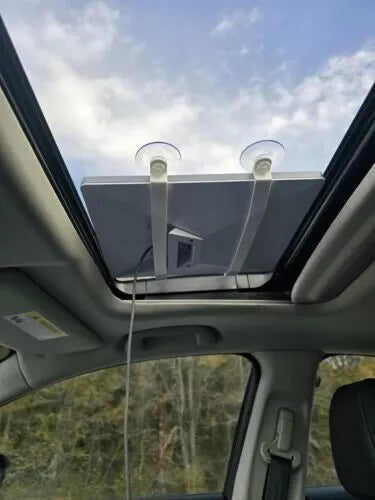
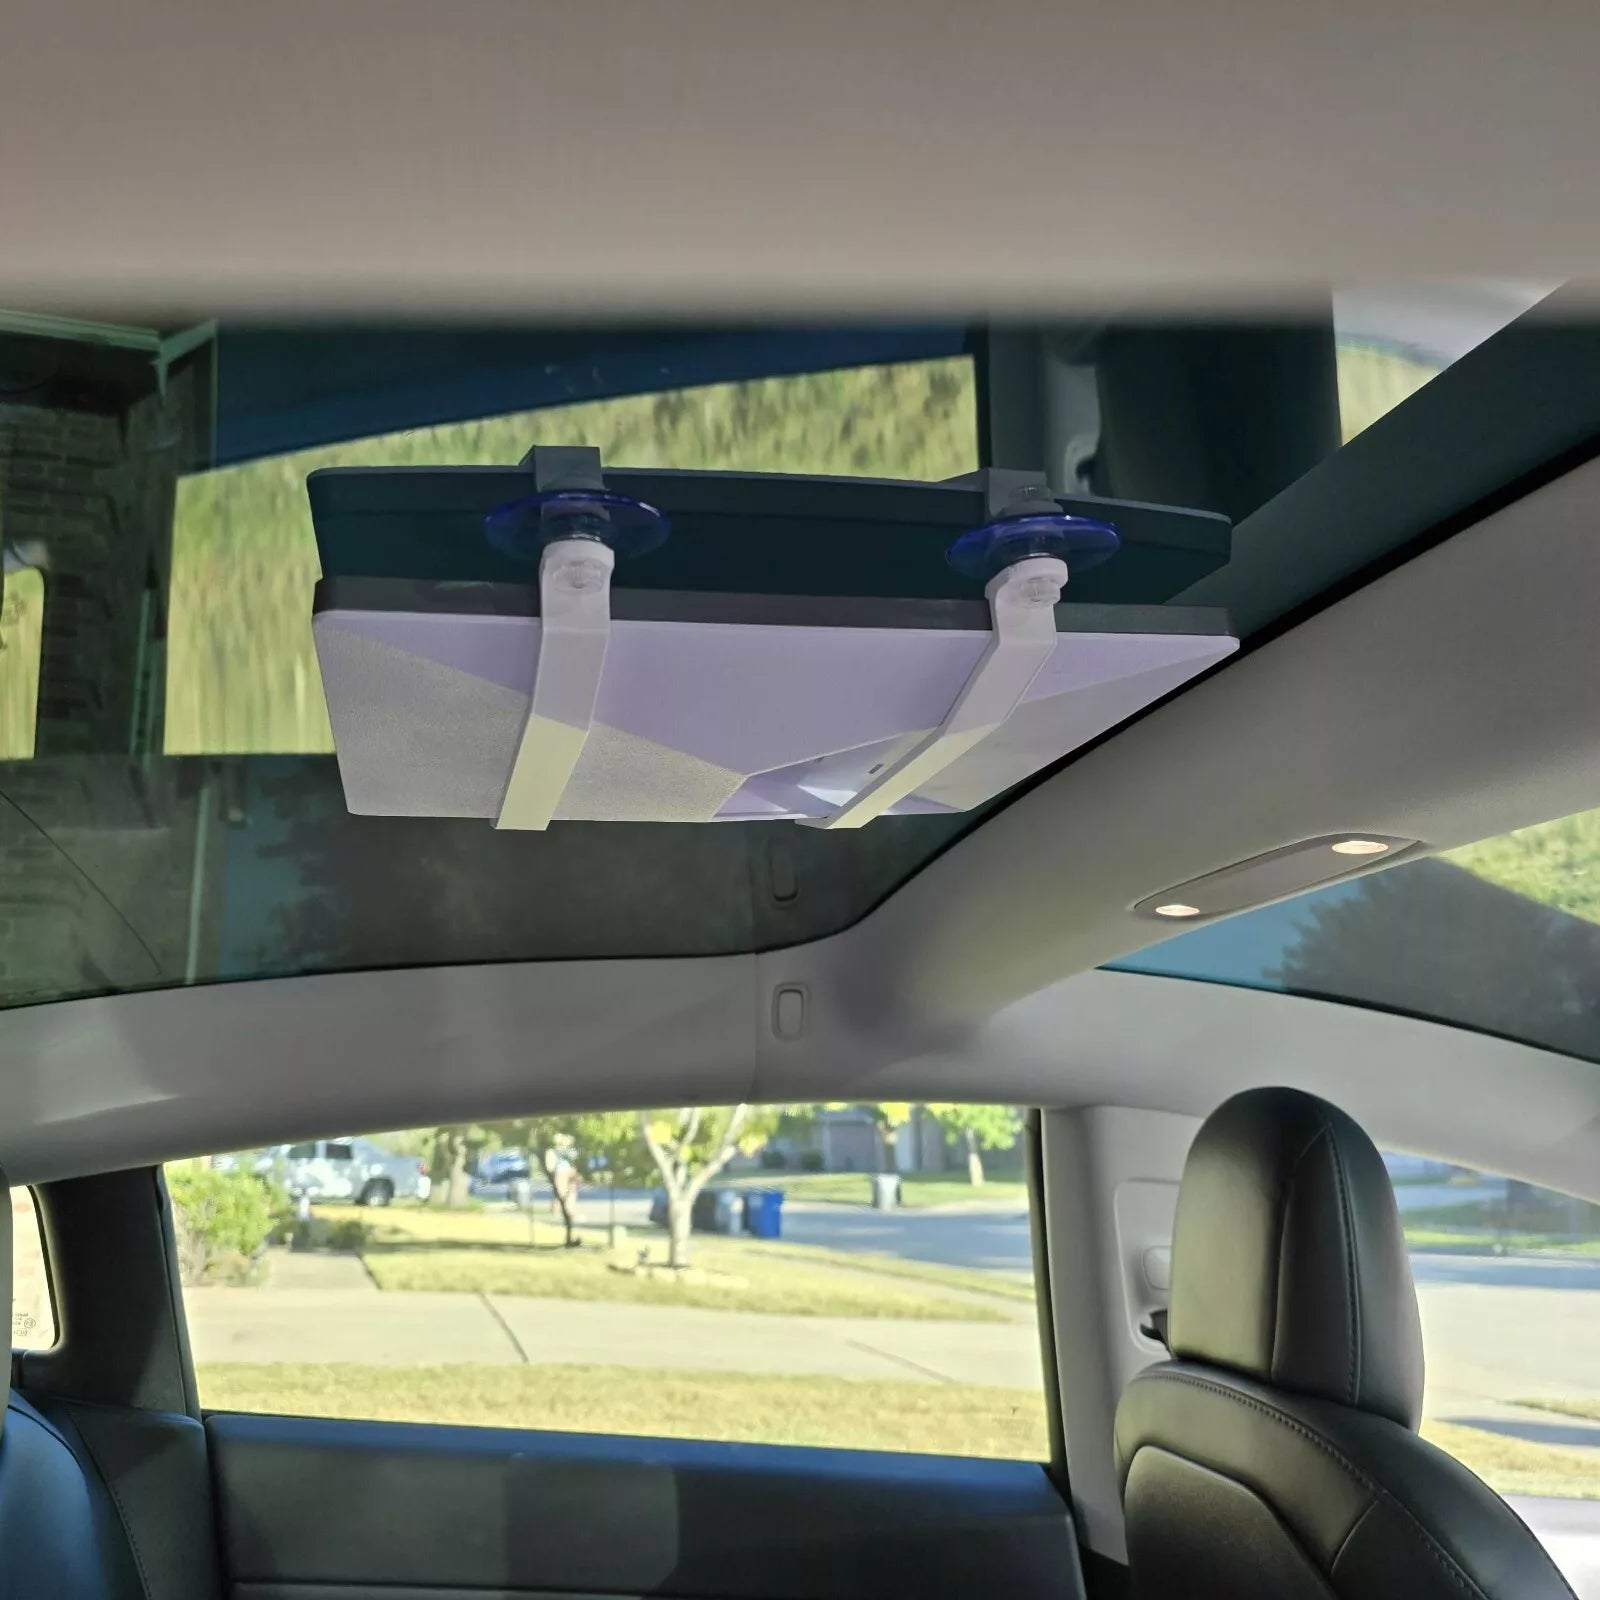
Upgrade Your Road Trips with Starlink Mini Low-Profile Mount
Transform your vehicle into a Wi-Fi hotspot anywhere with our sleek and easy-to-install Starlink Mini Low-Profile Suction Mount. Ideal for:
- Road Trips: Stay connected while on the move.
- Camping: Work or stream from remote locations.
- Overlanding: Reliable internet in off-grid adventures.
Key Features:
- Ultra-Slim Design: Discreetly mounts to your windshield or sunroof.
- Versatile Mounting: Easy to install and remove.
- Durable Construction: Weather-resistant and built to last.
Tools Required:
- Microfiber cloth or soft, lint-free cloth
- Isopropyl alcohol (optional, but recommended for a stronger bond)
Installation Steps:
-
Prepare the Mounting Surface:
- Clean the Glass: Thoroughly clean the glass surface where you plan to mount the suction cups. Use a microfiber cloth or soft, lint-free cloth dampened with isopropyl alcohol to remove any dirt, grease, or residue.
- Dry Thoroughly: Ensure the surface is completely dry before proceeding. Any moisture can hinder the suction cups' ability to adhere properly.
-
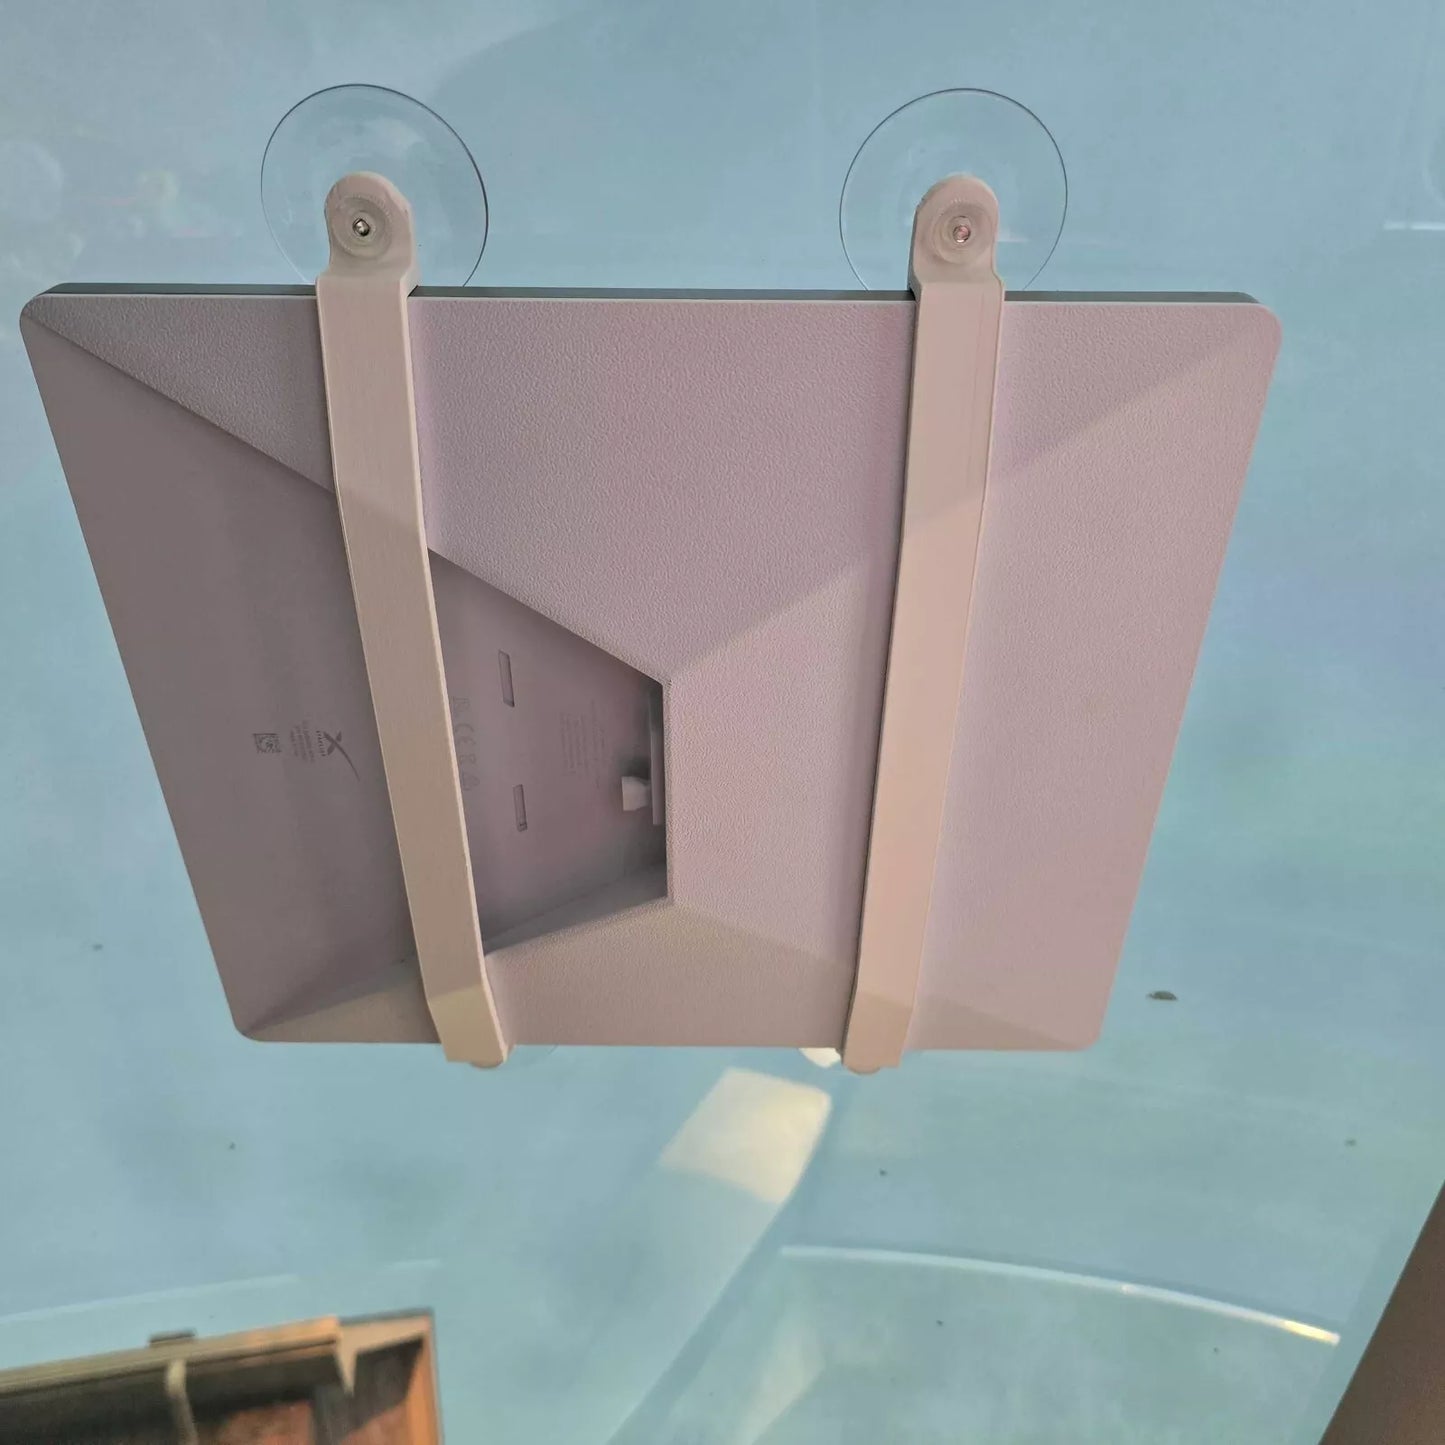
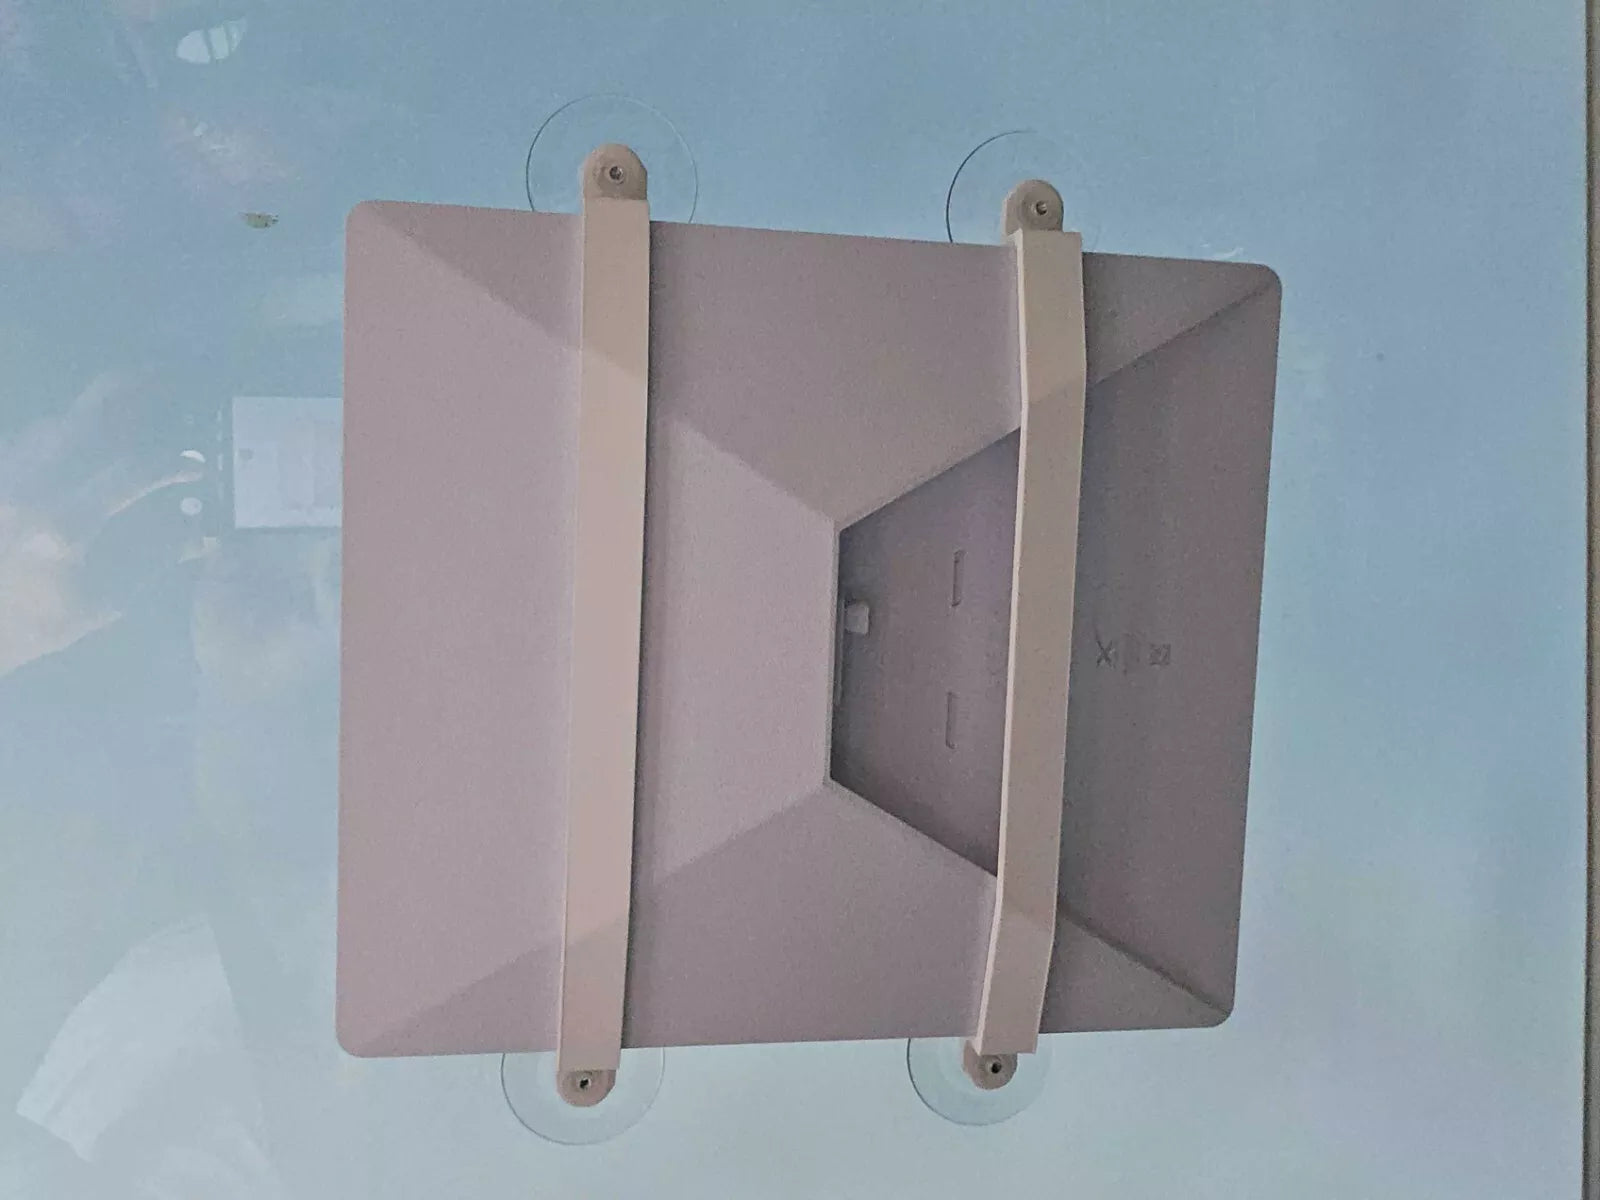
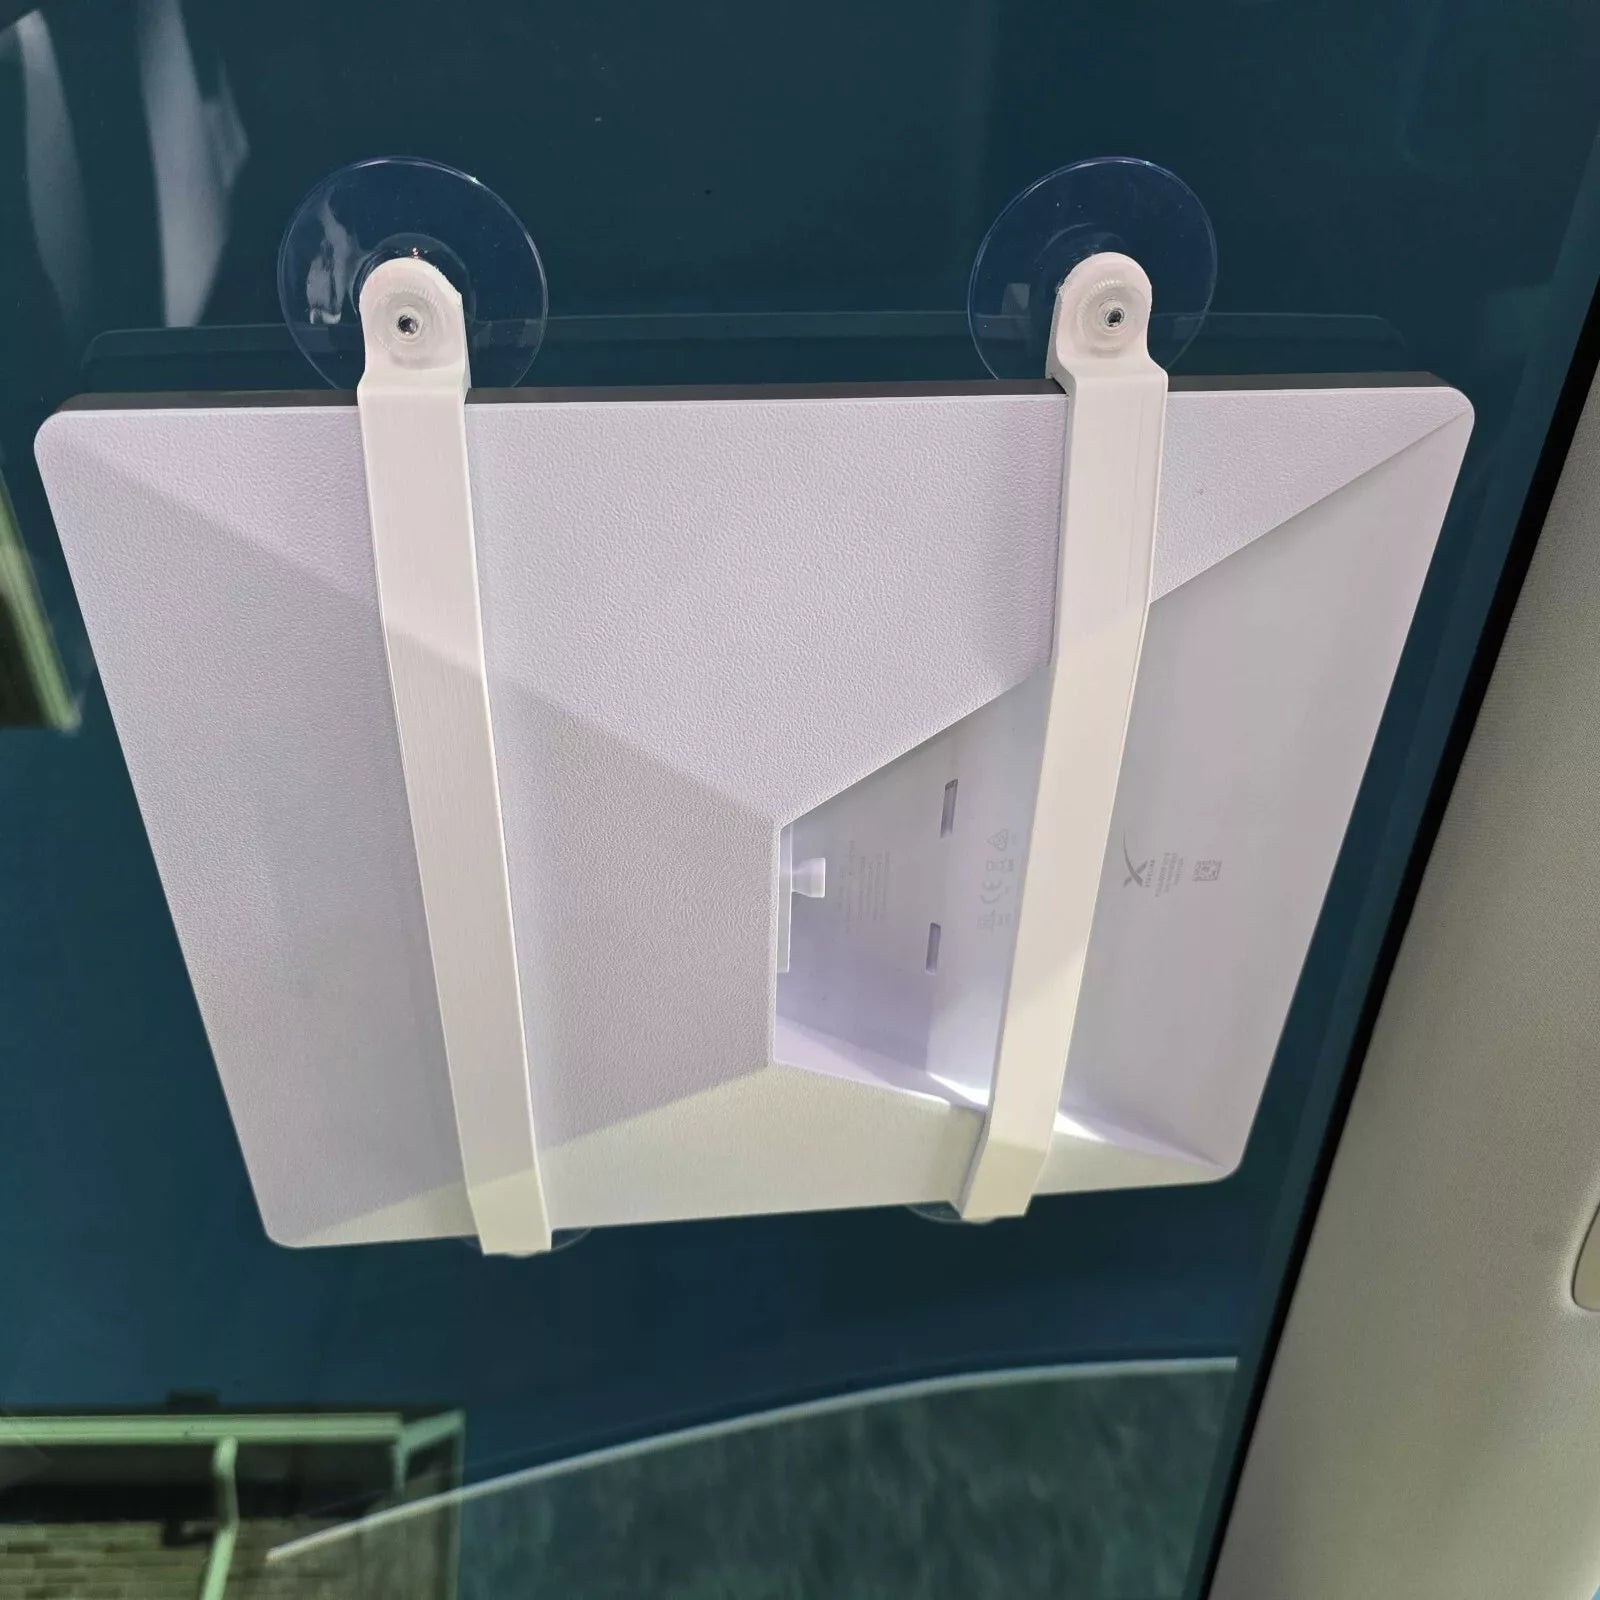
Attach Brackets to Starlink Mini:
- Slide the two included ASA mount brackets onto the sides of the Starlink Mini dish. Ensure they are securely in place.
-
Attach Suction Cups to Brackets:
- Align the suction cups with the mounting holes on the brackets.
- Install the suction cups firmly onto the brackets, ensuring a tight fit.
-
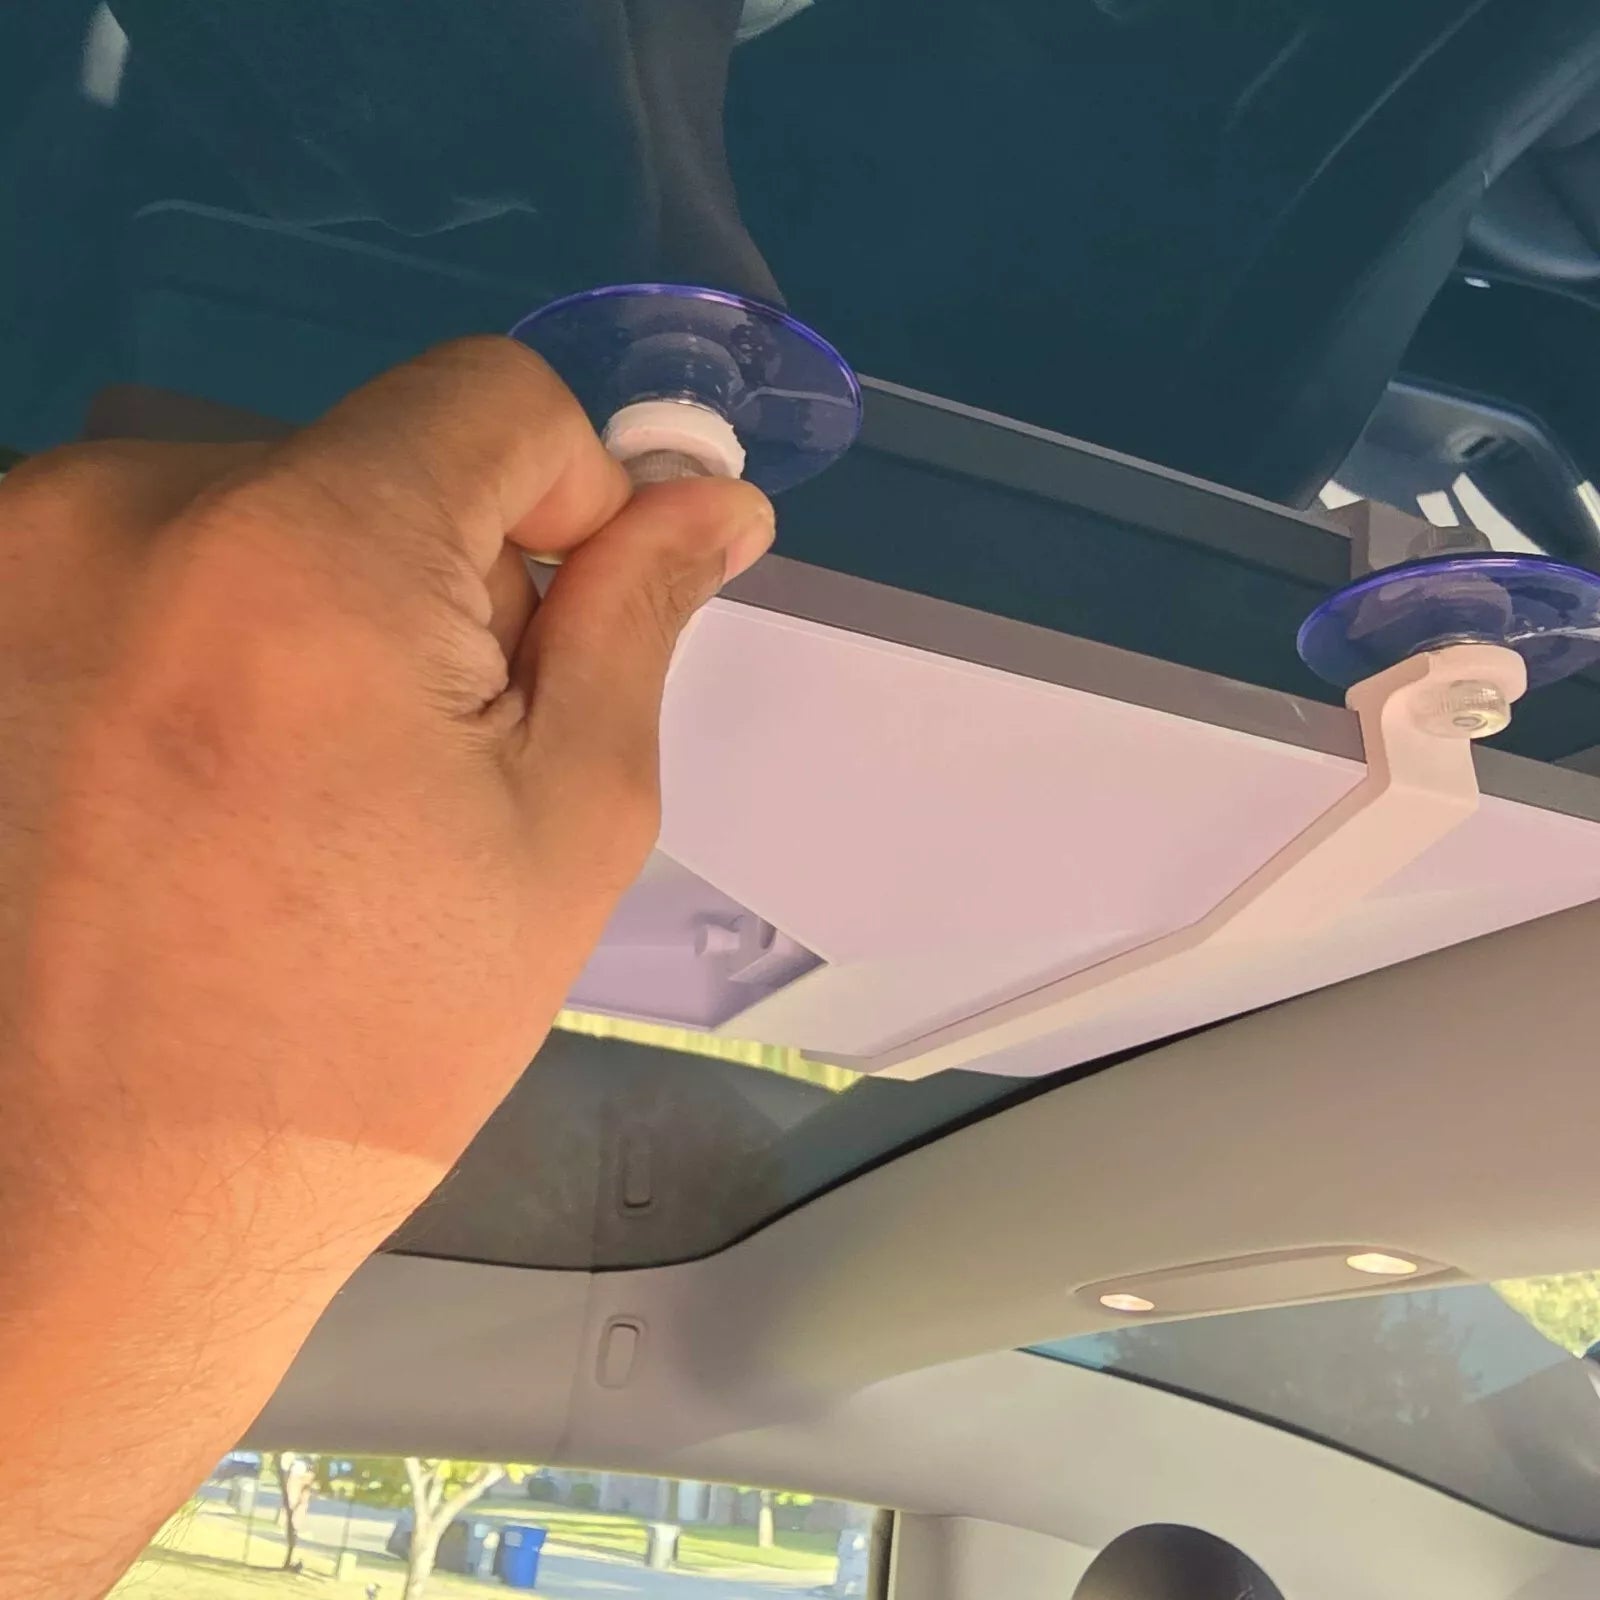
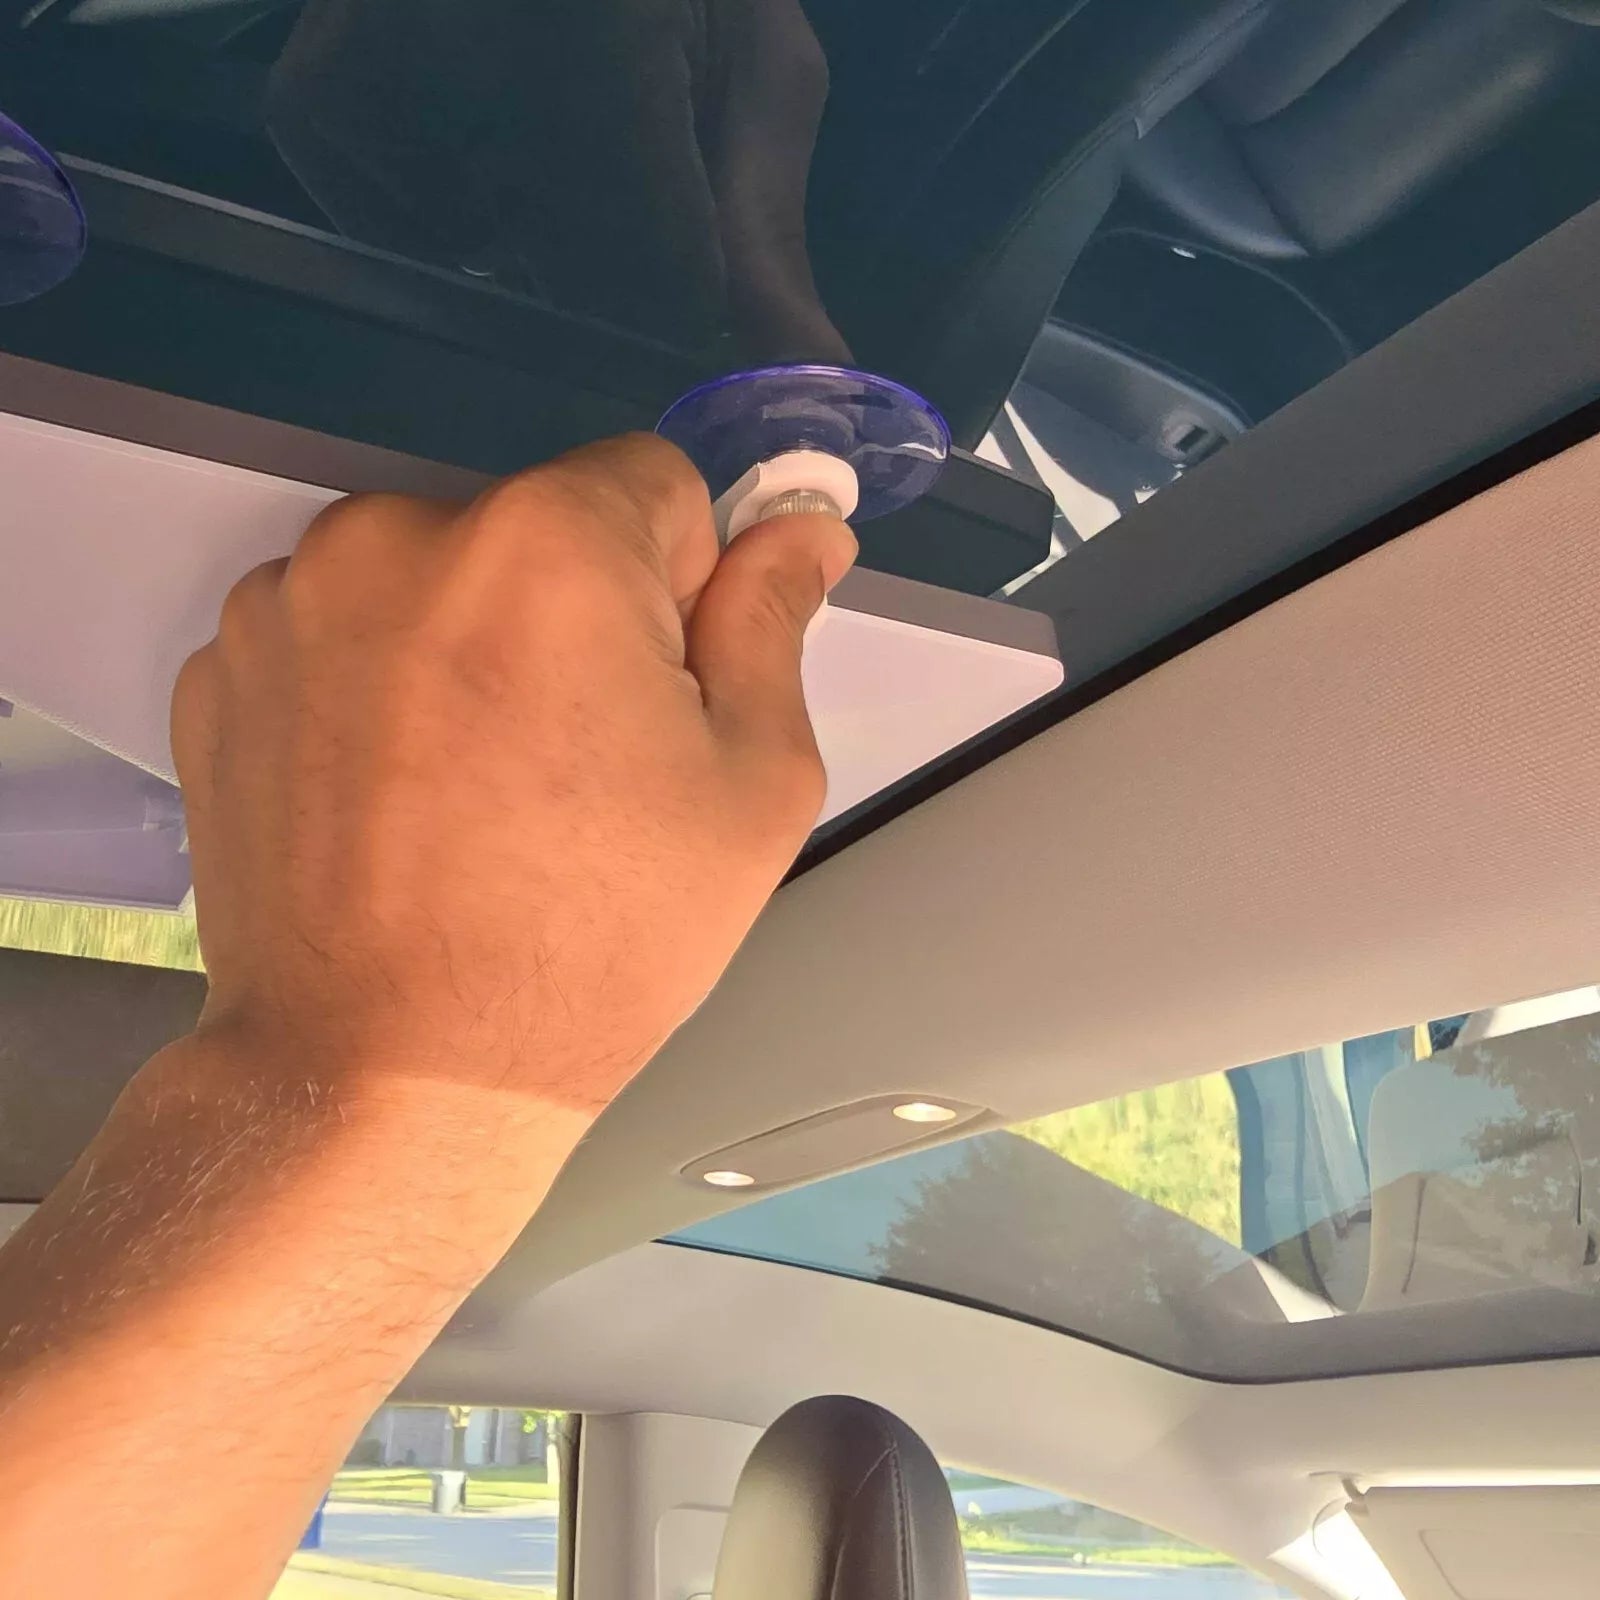
Mount to Vehicle:
- Choose a Suitable Location: Select a flat, clean area on your windshield or sunroof. Avoid areas with uneven surfaces or excessive curvature.
-
Apply Suction Cups:
-
Method 1(recommended): Wet Mounting:
- Lightly mist the suction cups with water. This can help create a better seal and improve adhesion, especially in hot weather.
-
Method 2: Dry Mounting:
- Simply press the suction cups firmly onto the clean, dry glass surface.
-
Method 1(recommended): Wet Mounting:
-
Adjust and Secure Starlink Mini:
- Adjust the angle of the Starlink Mini to optimize signal reception.
- Ensure the device is securely fastened to the suction cups.
Tips for Optimal Suction Cup Performance:
- Avoid Extreme Temperatures: Extreme heat or cold can affect the performance of suction cups. If possible, avoid mounting the device in direct sunlight for extended periods.
- Periodically Check the Suction Cups: Regularly inspect the suction cups for any signs of wear or damage. Replace them if necessary.
- Clean the Suction Cups: Periodically clean the suction cups with mild soap and water to remove dirt and debris.
- Consider Using Silicone Spray: A light coating of silicone spray on the suction cups can improve their grip, especially in challenging conditions.
By following these steps and tips, you can ensure a secure and reliable installation of your Starlink Mini Low-Profile Suction Mount.
Important Note:
Please measure your sunroof shade clearance before purchasing. The total height of the mounted Starlink Mini is 1.70 inches.
Included:
- 2x ASA Mount Brackets
- 4x Heavy Duty Suction Cups
Elevate your journeys with reliable satellite internet.
Share